Monday, 27 February 2017
Colour Grading
Colour Grading
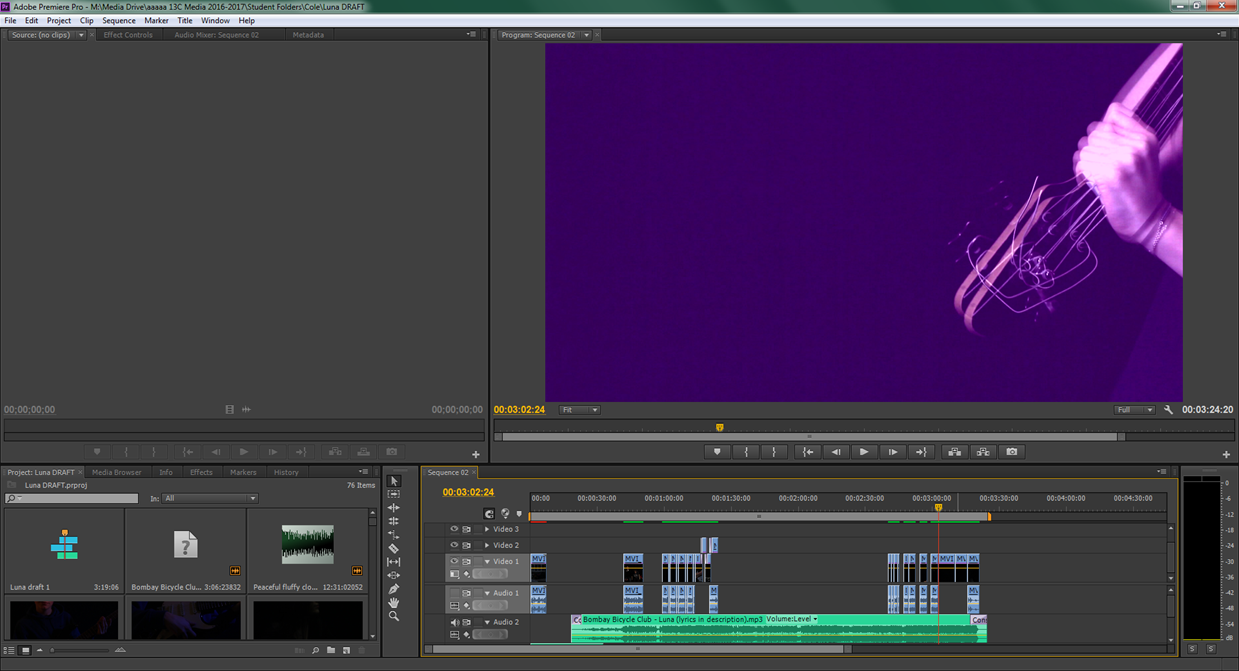
Here is a video of the colour grading that I did on various different clips of my music video for Luna. I used different effects depending on different parts of the music video. I split my music video into three different sections. The first section is the narrative section. This section is where I used a faded/cold tint on the image. The second section is the lip syncing section. This is where I added a black and white effect over the images. Finally the last section is with the band members each playing their musical instrument. There are various different reasons as to why I applied these effects onto different parts of the music video.
I wanted the parts of the music videos to display different meanings. If I had just kept the images clear and not changed the colour/quality of the images, I believe that the storyline and the parts with the band members would merge all together and not have such a clear narrative. With certain clips having a certain colour grade put onto it, viewers can piece the storyline together and gain a better understanding of the quirky and alternative indie-pop music video that myself and my partner put together.

 For section 1 of my video (- the main storyline clips) I added a blue undertone and a white-blue and a pink tint to these clips. The reason for this was so that the video all fit together. Myself and my partner faced problems with the original look of the clips that we had put together. We decided to add this tint which made the video come together. When the clips weren't adjusted, the colours stood out and didn't look right. We also decided to add these particular colours as we thought that with the musical instrument section being colourful and mainly blue and pink (like the digipak) that it should be transferred onto the narrative clips as well. Again, it made the transitional cut shots look less harsh and fit within the genre. From my research of the indie genre, I gained an understanding of the different indie bands having a washed out/cold tint on their videos. I decided that this had to be added onto my own video as it was one of the main features of an indie music video. This was done by using the three-way-colour corrector.


 Section 2 of my music video was clips of the band members individually singing parts of the song. I put a black and white effect on these particular images to create a contrast effect and to also stick to indie genre conventions. The black and white effect also added a more passionate look to the band members when they lip synced to the song. This in turn makes it more believable that they meant what they were singing and that it was 'Palms' that originally wrote and sang the song. The black and white mysterious yet passionate look added to the overall affect of the music video. The black and white affect added mystery and suspense. The two colours should hint to the audience that something is soon going to happen, therefore when the confetti is being poured over the band members, I increased the contrast and removed the black and white effect in order to make the confetti pieces stand out and glisten as much as possible. The black and white clips of the videos all had their brightness increased to 3 and contrast to 6. The lighting used whilst filming these clips was already good enough and made the clips look good quality, however I still felt that there was room for improvement. I added more contrast than brightness to make the black background look clean and have no shadows and to make the image look more crisp. The brightness was increased so that we didn't lose too much detail when the contrast was increased. This overall gave a crisp and good quality look on the lip syncing clips of my music video.
 Section 3 of the music video is the section with the band members playing musical instruments. It is these parts too that also have animation on the clips. As the animation was in a white colour I wanted the cool clips of the band members playing the instruments stand out even more and make the animation pop even more than it does on the narrative clips. I decided to add colour tints on to the video clips. I added primary colours such as blue, pink, red, green and added different undertones to each colour by spinning the outer part of the fast-colour corrector wheel. For example, in the music video I added a blue put gave a purple undertone to add more depth. In the drumming clip in the video above you will notice that I added a green tint to the video with a blue undertone. This made the clip look more interesting than just adding one simple colour on to the video. Alongside this I also changed the intensity of the colour that I added onto the video. I put a pink tint on the guitar clip and changed the intensity of the colour. I also added a brightness and contrast video affect onto the clip to make the background and black panel on the guitar as dark as possible, but I also increased the brightness to the clip so that you could see George playing the guitar clearly.


Friday, 24 February 2017


Monday, 20 February 2017
Logo Practice using Adobe Illustrator
Batman Logo
During one of my media studies lessons, I learnt how to use the programme Adobe Illustrator. Up until that day, I had never used Adobe Illustrator before, therefore found it extremely challenging to use and understand.I began with the simple step-by-step task of creating a batman logo. (https://design.tutsplus.com/tutorials/holy-vector-tutorial-create-a-retro-batman-logo-in-adobe-illustrator--vector-11338). Whilst trying my best to replicate the Marvel Batman logo and follow the steps on the tutorial, I came across different obstacles and problems along the way such as how to flip and copy a shape (which is simple to do on other programmes). Yet with persistence I managed to follow the steps and finish the logo. It was at this point, half way during this task where I began to get to grips with how to use the programme and began to gain some confidence.
It was key for me to understand how to use the programme as I want to create a logo independently and be able to apply all of my creative ideas easily onto my music label. Gaining a simple understanding and guideline to using Adobe Illustrator helped me recognise what I can and can't do for my logo. I understood my limitations and so began to think of alternative ways I could do something for my logo.
At the end of the lesson I was pleased with the outcome of the batman logo that I tried my best to replicate. Being a novice to the programme, it is key to note that the quality of my work will not reach a professional standard of work; However, I will ensure that my work reaches a high standard in order to look as believable and realistic as possible. Despite all the difficulties I will face during the creation process of my logo, I will persist, apply my basic knowledge and adapt my ideas in order to get an outcome that I will be proud of.

Sunday, 19 February 2017
Saturday, 11 February 2017
Palms Tour Video
Palms Tour Video
For my bands website and social media I decided to create a realistic tour announcement advert. Many indie bands in particular have a tour announcement video. I thought that it would only be fitting that my band had one too, especially if it would be of a great deal to them. This will be the first U.K. tour for my band therefore it would be important to have a video for my band in order to promote and sell tickets for the tour.
Here are some other examples for indie tour announcement adverts. The following artists are in the same age group as my band, have the same genre, the same style and have the same target audience/ demographic as my band.
Declan McKenna-
RatBoy-
I used these two artists in particular as they are in the same age group as my own band and have the same target audience and demographic as Palms the band.
Wednesday, 8 February 2017
Luna Rough Cut Feedback
Rough Cut Feedback
A few of weeks before the music video deadline I was told to save the work I had already done on my music video and export it to show everyone in my class what me and my partner had already done. At this point in time myself and my partners work was only half way finished therefore the narrative of the story was unclear. I had already told my class what I was planning to do in my music video when I presented my treatment, therefore they already understood what I was going to be doing, however I wanted to go over my ideas for my music video over again so they could understand how everything will be pieced together.
At this point, I had only put together the studio clips of my band. I had been tweaking the clips, playing around with the colours, and adding special affects on my music video. I worked hard and spent a long time on these clips as I knew that these were going to be clips that mostly stood out in the video. These clips were different and alternative, but still fit my genre conventions. I wanted to perfect them and match up the lip syncing as well as I could. This is why I hadn't yet added my narrative clips to my music video. I also added a couple of tracking shots of a band member on a pic near the end of the music video.


Audience Feedback*
This was the sheet my class was given to fill out about each others rough cuts.

 Overall this particular feedback sheet was positive. We were scored highly. The lowest mark that I were 7/10 for Performance, Camerawork and lip-syncing. This was expected as I had some clips missing that I had planned to put interesting shots in and would make the narrative make more sense. In this particular feedback, the person has noticed that some of my shots were out of focus. However, she said that this added to affect. I decided when I returned to editing that I was going to add a colour tint effect to the narrative clips of my music video to help the point made in this feedback and to also make the clips all fit together.
 In this feedback sheet we were scored highly. We only got two 8/10's and four 9/10's. I had room for improvement for Camerawork and Pace and Feel which at this current point in time I agree with. The person wrote that she liked the lip sync shots of the band members and mentioned the transitions for performance was effective. She also noted that the performance scenes looked professional. This was the overall affect that I was looking for and so was extremely happy when the person wrote this. Again quality of the tracking shots that I placed in the video was mentioned. It was important that I acted upon this problem. For improvements the person wrote - none. However from the scores given I will take Camera Work and Pace and Feel into consideration when I finish editing the video.
On this sheet I received a mixture of scores. I was given 6/10 for lip-syncing. 10/10 for pace and feel and transitions.9/10 for performance and 8/10 for colour/effects. The criticism that I received from this audience feedback sheet was that I should focus on the fast-paced shots, the lighting was too bright in the final scene and that the narrative could be improved. When I return to editing on premiere pro I plan to add the rest of the narrative which is more fast paced, add a colour tint to my video and add the rest of the narrative. It is clear to see that more colour grading will be necessary in my music video.

This particular feedback was more clear on what I should work on. I was score a 5/10 for my transitions, 6/10 for camera work. 8/10 for Colour/Effects and Pace and Feel and 9/10 for both Performing and Lip-Syncing. In the comments section I got positive feedback on how the music and video fit together and how she liked the split screen lip-syncing section along with how the animation on the clips looked good. However, it was noted on the comments section again that the narrative shots that I included at this point was out of focus. Due to the video only half done, I was told that I needed to finish editing the narrative scenes which I agree on. As a result, I wasn't able to get suitable feedback for all my video.
Overall my results showed that we should mostly focus on colour grading and camera work. I intend to finish putting all my clips together and adding more fast paced cuts and improve on my transitions. There will be some aspects that I will not able to edit e.g. the lip syncing. We couldn't control the quality of lip-syncing that the band members were giving us, however we will change around some clips and work around with what we've got.
Back to editing and perfecting I go!
Sunday, 5 February 2017
Subscribe to:
Comments (Atom)